

Table of Contents
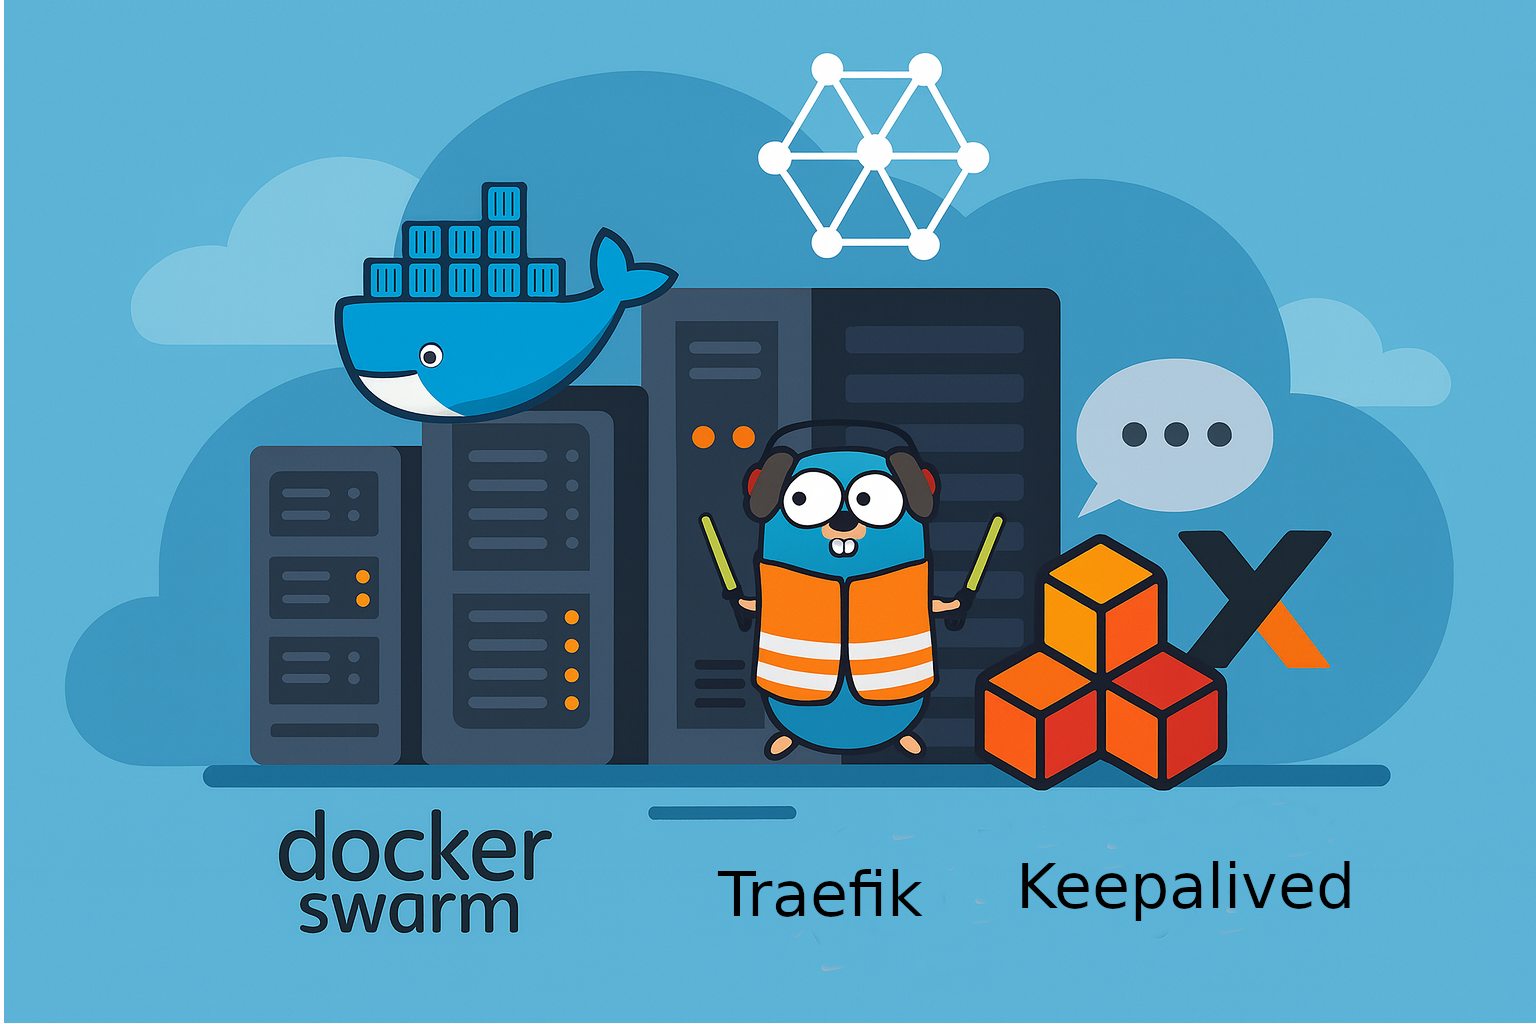
Setting up a high-availability container platform doesn’t have to be complex. In this guide, we’ll walk through building a resilient Docker Swarm cluster with Traefik as the dynamic reverse proxy and Keepalived for a floating virtual IP (VIP). The result? A production-grade setup that keeps your services accessible even if a node goes down — all powered by open source technologies like Proxmox, Docker, and Traefik.
Prerequisites
Before we begin, ensure you have the following infrastructure components ready:
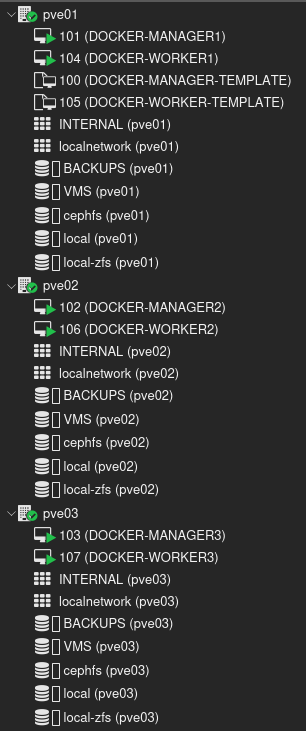
✅ A Proxmox cluster with at least 3 nodes
✅ 3 Docker Swarm manager nodes:
    docker-manager1 – 10.10.61.5
    docker-manager2 – 10.10.61.6
    docker-manager3 – 10.10.61.7
✅ 3 Docker Swarm worker nodes:
    docker-worker1 – 10.10.61.10
    docker-worker2 – 10.10.61.11
    docker-worker3 – 10.10.61.12
✅ A Virtual IP (VIP) address managed by Keepalived: 10.10.61.2
✅ An NFS export (accessible from all nodes) to use for shared configuration in Docker Compose files
This setup provides a solid foundation for building a highly available, self-hosted container platform using open source tools.
Install docker on all manager and worker nodes
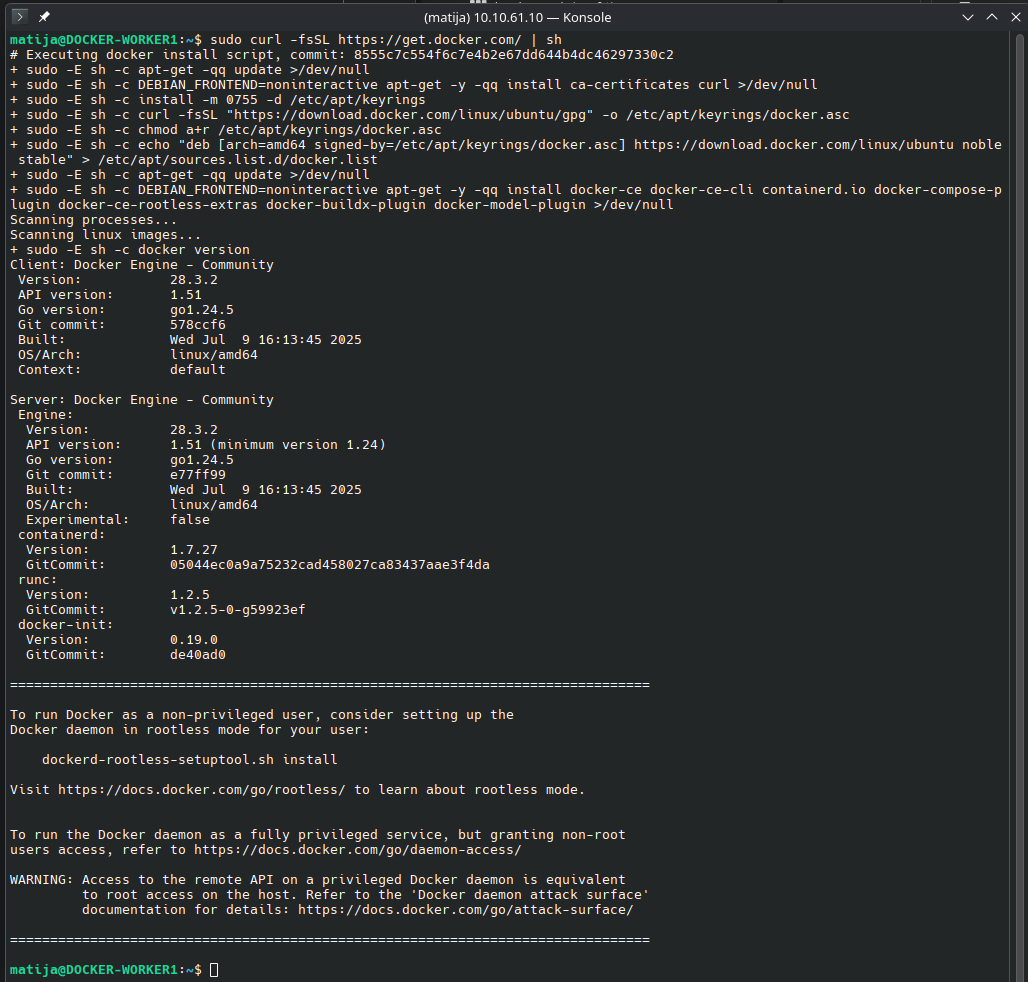
To get started with Docker Swarm, we first need to install Docker on every node — both managers and workers. Ensure you’re using a consistent Docker version across all nodes to avoid compatibility issues. The following step apply to most Debian/Ubuntu-based systems, but can be adjusted for others.
SSH into all your manager and worker nodes and execute following command:
sudo curl -fsSL https://get.docker.com/ | sh
Install & Configure Keepalived
To enable high availability at the network level, we’ll use Keepalived to manage a Virtual IP (VIP) that can float between your manager nodes. This ensures Traefik remains reachable even if one node goes down. We’ll install Keepalived on all manager nodes and configure it with VRRP for automatic failover.
Install keepalived on managers nodes
Run this on each Docker Swarm manager that should be eligible to host the VIP:
sudo apt install -y keepalived
Create the Keepalived config file
Edit the config on each manager node:
sudo nano /etc/keepalived/keepalived.conf
Paste the following and customize interface, priority, auth_pass and virtual_ipaddress:
vrrp_instance VI_1 {
    state BACKUP
    interface eth0             # Replace with your actual interface (e.g., ens18, enp1s0, etc.)
    virtual_router_id 51       #  Must be the same on all workers
    priority 100               # 100 for manager1, 90 for manager2, 80 for manager3 , etc...
    advert_int 1
    authentication {
        auth_type PASS
        auth_pass secretpass   # Use a shared secret, same on all workers
    }
    virtual_ipaddress {
        10.10.61.2             #  Your VIP
    }
}
Enable & Start Keepalived
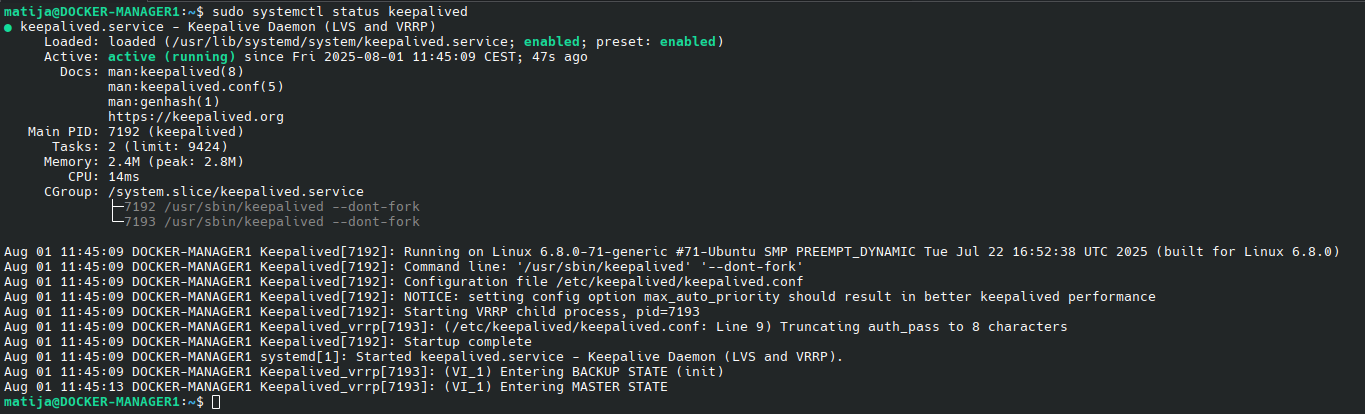
With the configuration in place, it’s time to enable and start the Keepalived service on each manager node. This will activate the VIP failover mechanism and ensure that one node always holds the active virtual IP. Let’s make sure the service is running and enabled at boot.
sudo systemctl enable keepalived
sudo systemctl start keepalived
And we can check status:
sudo systemctl status keepalived
You will now see that on the node with the highest Keepalived priority, the VIP appears in the interface list:
matija@DOCKER-MANAGER1:~$ ip a
...
    inet 10.10.61.2/32 scope global eth0
       valid_lft forever preferred_lft forever
...
Tip: You can test VIP failover by powering off the manager node that currently holds the VIP. Within a few seconds, the VIP should automatically move to the next available node based on Keepalived’s priority settings.
Setup the Docker Swarm
With your infrastructure ready and VIP in place, it’s time to initialize the Docker Swarm. We’ll start by creating the swarm on one of the manager nodes, then join the remaining managers and workers to form a resilient, distributed cluster. This forms the foundation for deploying Traefik and your containerized services.
Initialize the Swarm
SSH into docker-manager1 node and run:
sudo docker swarm init --advertise-addr 10.10.61.5

Copy and paste output because we need this in the following steps.
Join the other manger nodes
On docker-manger1 run:
sudo docker swarm join-token manager

Copy the command and on docker-manager2 and docker-manager3 run the command:

And the node is joined as a manager.
To confirm the nodes, check the node list:
sudo docker node ls

Join the worker nodes
On on al workers nodes run the join command you copy-pasted earlier:
sudo docker swarm join --token SWMTKN-1-415co88hcoaczf7hci6v02ixq4qsg6ev6tms2eubsjszhpupwy-69b47wvkbfjlkocqahyowl2ej 10.10.61.5:2377

Again we can confirm the nodes with following command:
sudo docker node ls

You should see all 6 nodes: 3 with Leader or Reachable, and 3 as worker.
Step-by-step Traefik setup with NFS
We will create a basic Traefik container that will run on all manager nodes. The reason why traefik has to run on manager nodes is that it needs access to the Swarm API that is only exposed on the manager nodes.
I use the docker built-in NFS volume to map the configuration files. The NFS export must be accessable by all the manager nodes.
Install NFS tools on all manager and worker nodes
We will need to install the package “nfs-common” on all manager nodes so Docker can mount them:
sudo apt install nfs-common -y
Create the docker-compose-swarm.yaml file
SSH into a manger node and create a directory called traefik:
mkdir traefik
cd traefik
Create a file called docker-compose-swarm.yaml:
nano docker-compose-swarm.yaml
Paste the following content:
services:
  traefik:
    image: traefik:latest
    deploy:
      mode: global # Run instances on all nodes
      placement:
        constraints:
          - node.role == manager # Only instances on managers
      labels: # In Docker Swarm mode the labels need to be in deploy.labels
        - "traefik.enable=true"
        - "traefik.http.routers.traefik.entrypoints=http"
        - "traefik.http.routers.traefik.rule=Host(`traefik.localtest.me`)"
        - "traefik.http.routers.traefik.service=api@internal"
        - "traefik.http.services.traefik.loadbalancer.server.port=8080"
    networks:
      - proxy
    ports:
      - target: 80
        published: 80
        protocol: tcp
        mode: host # Bind to host IPs
      - target: 443
        published: 443
        protocol: tcp
        mode: host # Bind to host IPs
    volumes:
      - /etc/localtime:/etc/localtime:ro
      - /var/run/docker.sock:/var/run/docker.sock:ro
      - traefik_config:/etc/traefik/:ro

networks:
  proxy:
    driver: overlay # User overlay in Swarm mode
    attachable: true

volumes:
  traefik_config:
    driver: local
    driver_opts:
      type: "nfs"
      o: "addr=10.10.41.13,rw,nfsvers=4"
      device: ":/mnt/MAINPOOL/DOCKER_NFS/traefik/config/"
Tip: Don’t forget to change the IP and device (NFS export) to fit your setup. In my case I am exporting a NFS share from my TrueNAS
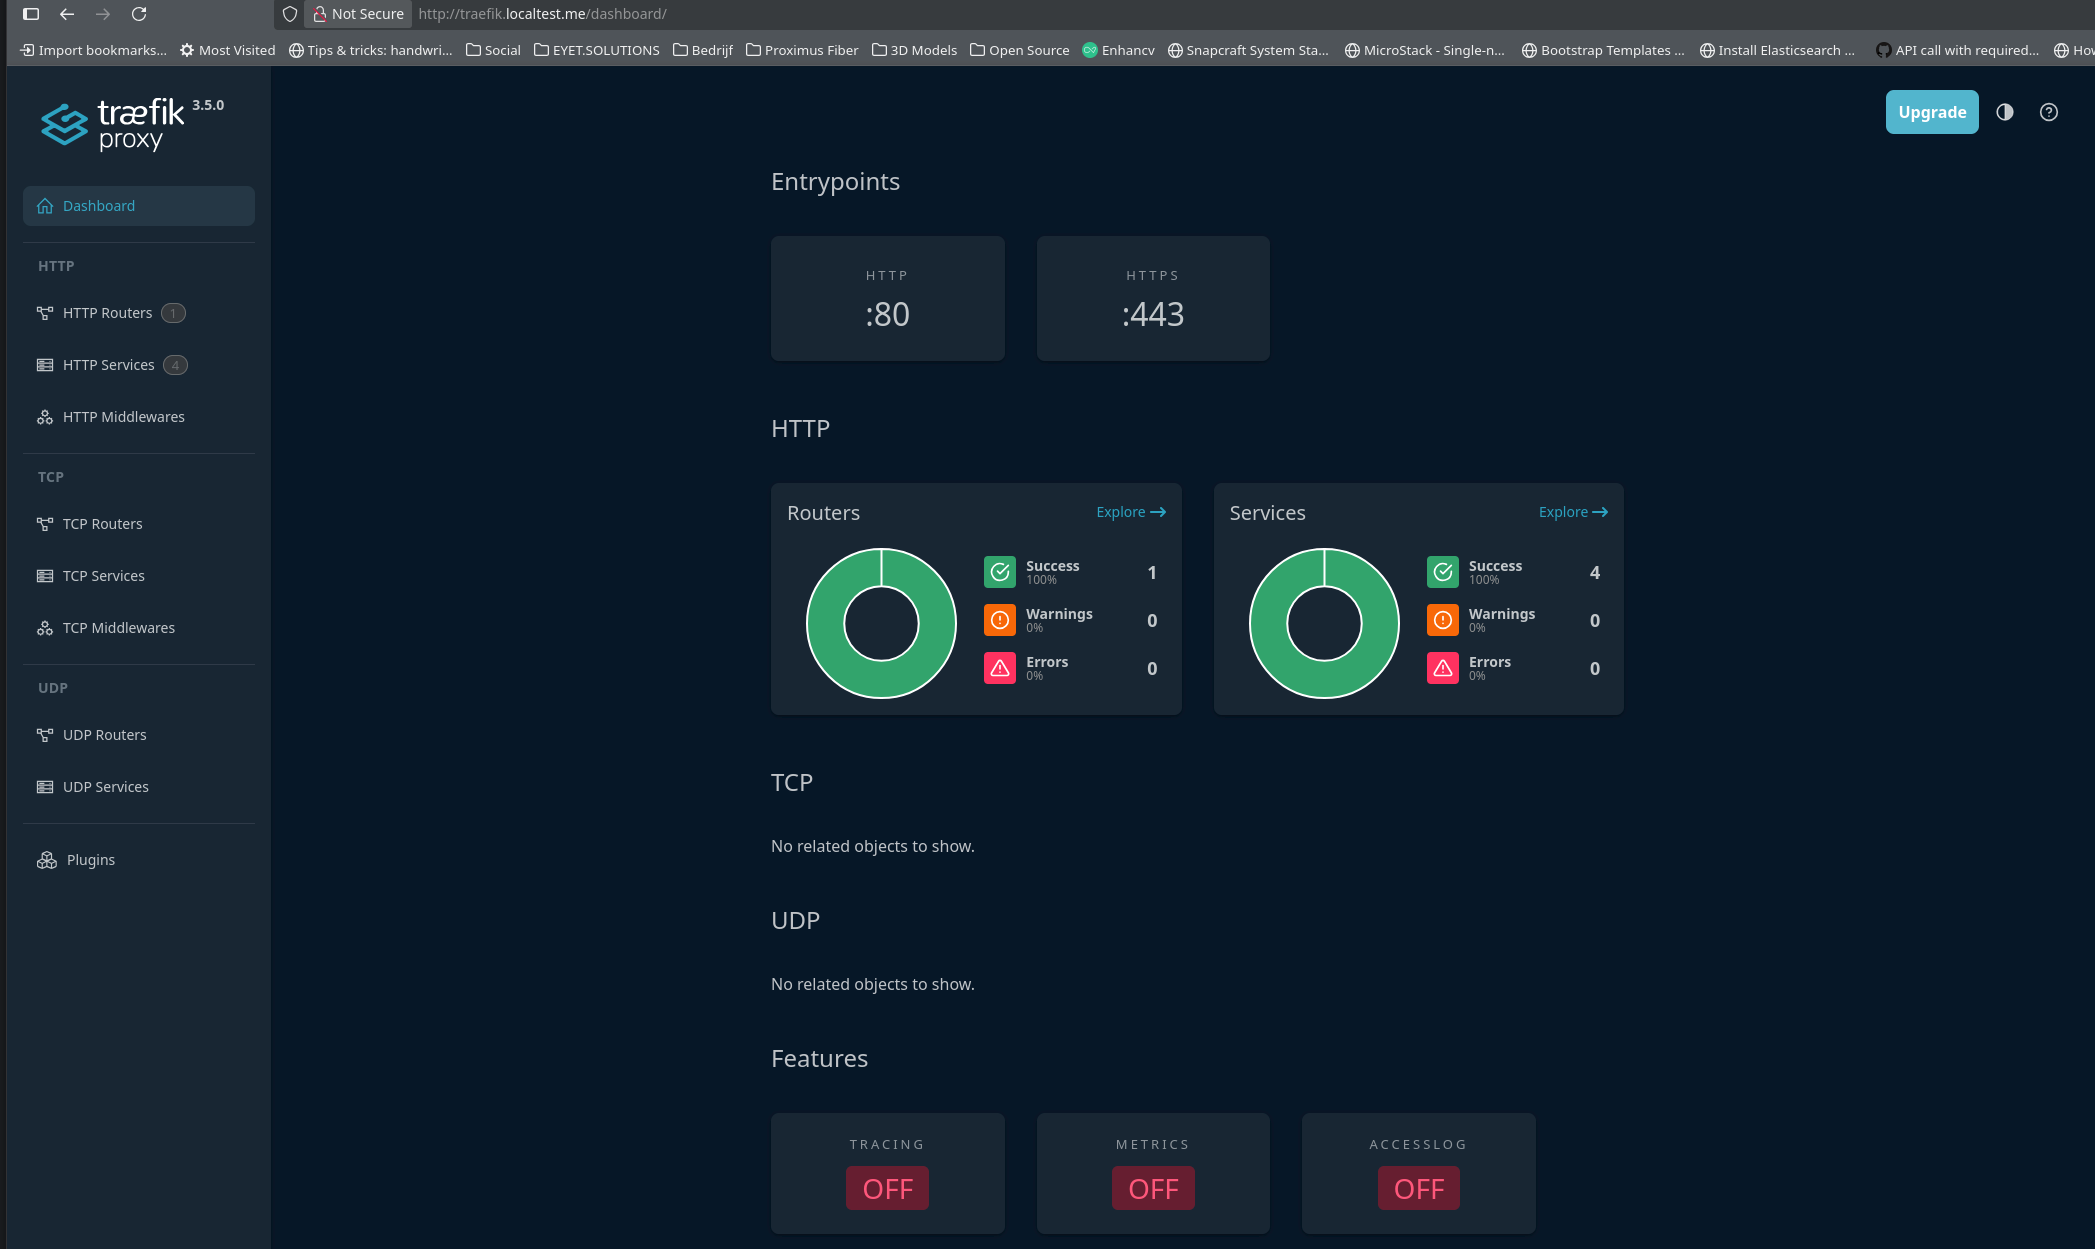
This simple Traefik instance allows us to access the dashboard at url http://traefik.localtest.me if we set a local-host in our /etc/hosts file.
Create the traefik.yaml file on NFS
In our docker-compose-swarm.yaml we are mounting the NFS export to /etc/traefik/. On launch traefik will look for a file /et/traefik/traefik.yaml file.
Mount your NFS export, in my case /mnt/MAINPOOL/DOCKER_NFS/traefik/config/, locally on your computer. In that directory create a file traefik.yaml
sudo nano traefik.yaml
And paste the following content:
api:
  dashboard: true
  debug: true
entryPoints:
  http:
    address: ":80"
  https:
    address: ":443"
serversTransport:
  insecureSkipVerify: true
providers:
  swarm:
    endpoint: "unix:///var/run/docker.sock"
    watch: true
    exposedbydefault: false
Launch the stack
Now we can deploy the stack with:
sudo docker stack deploy -c docker-compose-swarm.yaml traefik
“traefik” is the name of the stack. Docker will prefix all deployed services, networks, and volumes with this name (e.g., traefik_traefik).

You can check the service and replicas:
sudo docker service ls

We have 3 replicas because we are running 3 managers and we used “deploy mode: global” with constraints role “manager”.
You can also check the containers running on a specific node:
sudo docker node ps DOCKER-MANAGER1

Or on DOCKER-MANAGER3:

Accessing the Traefik dashboard
On your local computer open the /etc/hosts file:
sudo nano /etc/hosts
And add:
10.10.61.2 traefik.localtest.me
The IP 10.10.61.2 is our VIP IP.
Now open a webbrowser and goto url http://traefik.localtest.me :
Test High Availability
Now it’s time to verify that high availability is working as expected.
You can simulate a failure by shutting down docker-manager1, the node currently holding the VIP (10.10.61.2). Within a few seconds, Keepalived will automatically transfer the VIP to the next highest priority manager node.
Despite the failover, the Traefik dashboard should remain accessible, confirming that your routing layer is resilient and your services remain available — even when a node goes down.
At this point, you’ve successfully set up a basic high availability container platform using Docker Swarm, Traefik, and a floating VIP managed by Keepalived. Your services are now resilient to node failures, and traffic is automatically routed to healthy nodes — all powered by open source tooling.
From here, you can start deploying your own applications, add TLS with Let’s Encrypt, or integrate monitoring and logging. This foundation gives you a scalable and self-healing platform ready for production workloads.
In the next step-by-step guide, I’ll show you how to deploy application stacks to the worker nodes of your Docker Swarm cluster. We’ll cover how to use labels, constraints, and Traefik routing to launch real-world services across your high-availability setup — efficiently and cleanly.
Stay tuned!
