

Table of Contents
Setting up your own private cloud has never been easier, thanks to Nextcloud AIO (All-in-One) and the flexibility of Docker. But to run it securely and efficiently—especially with HTTPS, you’ll want to place it behind a reliable reverse proxy like Traefik. In this guide, we’ll walk you through deploying Nextcloud AIO behind Traefik, enabling automatic TLS, clean domain routing, and better control over your self-hosted infrastructure.
Prerequisites
- A fresh and clean Ubuntu VM (IP in my case: 10.10.10.50)
- For this guide i have a second virtual hard drive connected for the Nextcloud data. This for easy management and backup.
- Traefik proxy server that handles certificates.
- Subdomain pointing to the external IP of the Traefik server (e.g. storage.opentechpulse.org)
Configure Traefik
You need to add the correct config in Traefik that handles the incoming request for, in my case, https://storage.opentechpulse.org
In the “routers:” section add the following entry:
  routers:
    nextcloud:
      entryPoints:
        - "https"
      rule: "Host(`storage.opentechpulse.org`)"
      middlewares:
        - default-security-headers
        - https-redirectscheme
      tls: {}
      service: nextcloud
In the “services:” section add the following entry:
  services:
    nextcloud:
      loadBalancer:
        servers:
          - url: "http://10.10.10.50:11000" # Replace IP with your Nextcloud VM
        passHostHeader: true
Install Docker on the Nextcloud VM
This can be done with one simple command:
curl -fsSL https://get.docker.com | sudo sh
Change permissions on the data drive
I assume you have the second drive already mounted somewhere, for me i mounted this on /mnt/nextcloud-data
You have to change some permission for Nextcloud to be able to use the drive:
sudo chown www-data:www-data /mnt/nextcloud-data
sudo chmod 750 /mnt/nextcloud-data
Create the docker-compose.yaml file
cd
mkdir nextcloud-aio-docker
cd nextcloud-aio-docker
nano docker-compose.yaml
Paste the following:
services:
  nextcloud-aio-mastercontainer:
    image: ghcr.io/nextcloud-releases/all-in-one:latest
    restart: always
    container_name: nextcloud-aio-mastercontainer # Do not change
    volumes:
      - nextcloud_aio_mastercontainer:/mnt/docker-aio-config # This line is not allowed to be changed as otherwise the built-in backup solution will not work
      - /var/run/docker.sock:/var/run/docker.sock:ro
    network_mode: bridge
    ports:
      - 8080:8080
    environment:
      APACHE_PORT: 11000 # Is needed when running behind a web server or reverse proxy
      APACHE_IP_BINDING: 0.0.0.0 # Should be set when running behind a web server or reverse proxy
      NEXTCLOUD_DATADIR: /nextcloud-data # Allows to set the host directory for Nextcloud's datadir.
      SKIP_DOMAIN_VALIDATION: true # You can try to set this to false, but with a reverse proxy this might fail

volumes:
  nextcloud_aio_mastercontainer:
    name: nextcloud_aio_mastercontainer # This line is not allowed to be changed as otherwise the built-in backup solution will not work
Those are the required minimum to run Nextcloud AIO behind a reverse proxy. You can find all the options on the Github page.
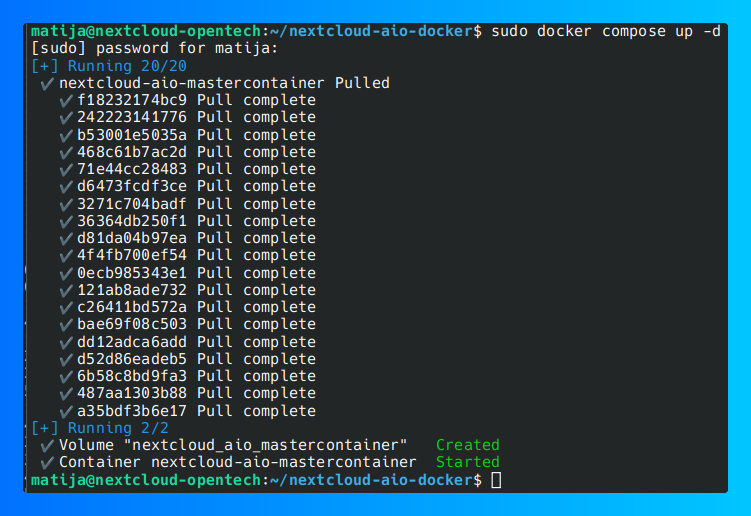
Run docker compose
sudo docker compose up -d
Goto internal URL
Open a webbrowser and go to the internal url: https://10.10.10.50:8080
You will get a message about invalid certificate. This is normal because we are accessing the internal URL. You can accept this and go on.
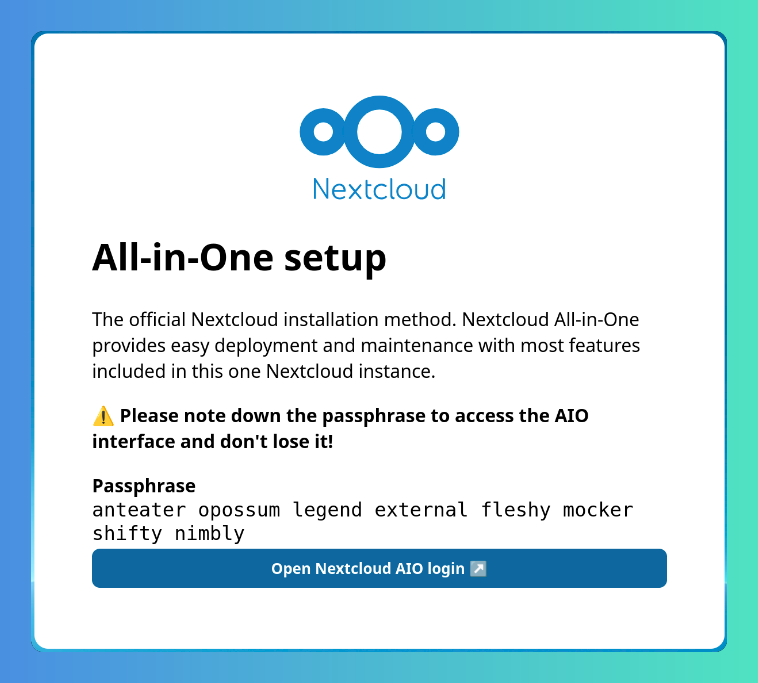
Copy the Passphrase, this is only showed once here and you need it for the following step.
Click on the button “Open Nextcloud AIO login”.
Login with passphrase
Now you will get a page “Log in using your Nextcloud AIO passpgrase”.
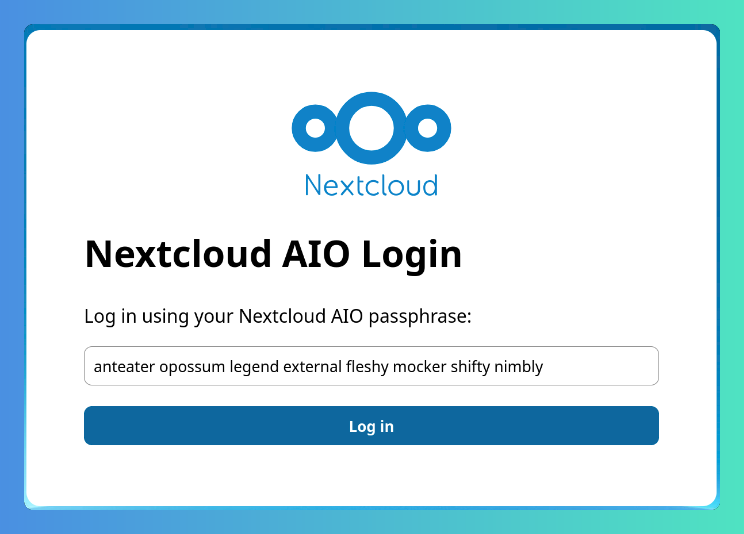
Paste yoour copied passphrase and click “Log in”.
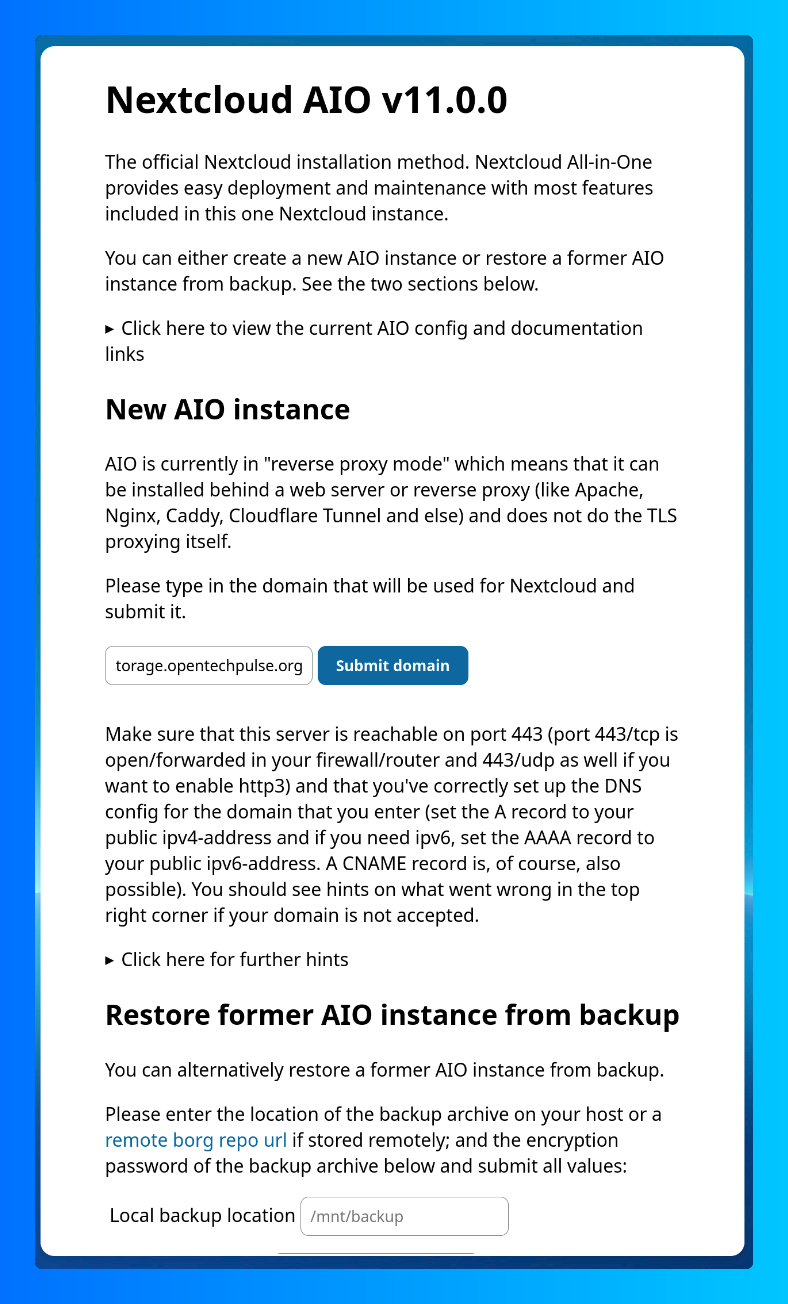
Enter external domain
In this page you need to enter your external domain, in my case this is storage.opentechpulse.org and click “Submit domain”
Optional containers
On this page you can enable some optional containers if needed. Beware that your VM must have enough recources to run them.
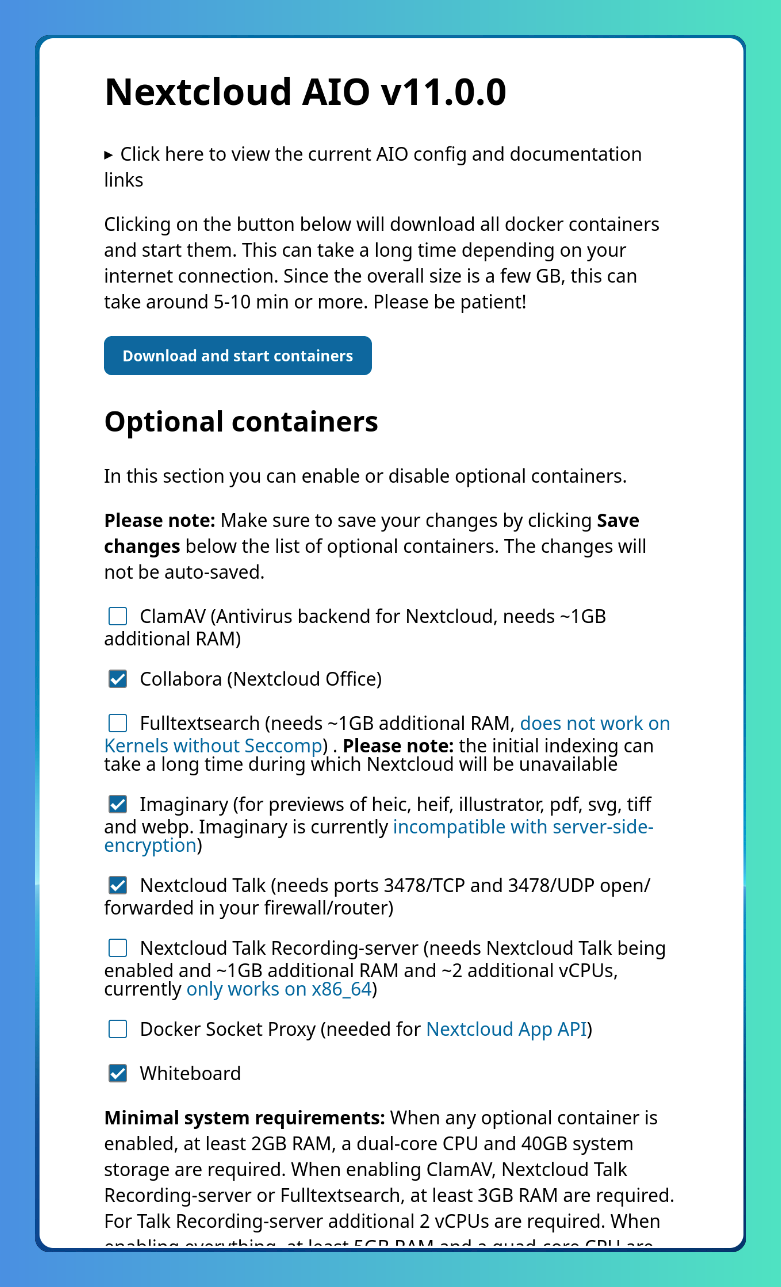
You can just leave this default and click “Download and start containers”.
The containers are downloaded and started. This could take a few minutes.
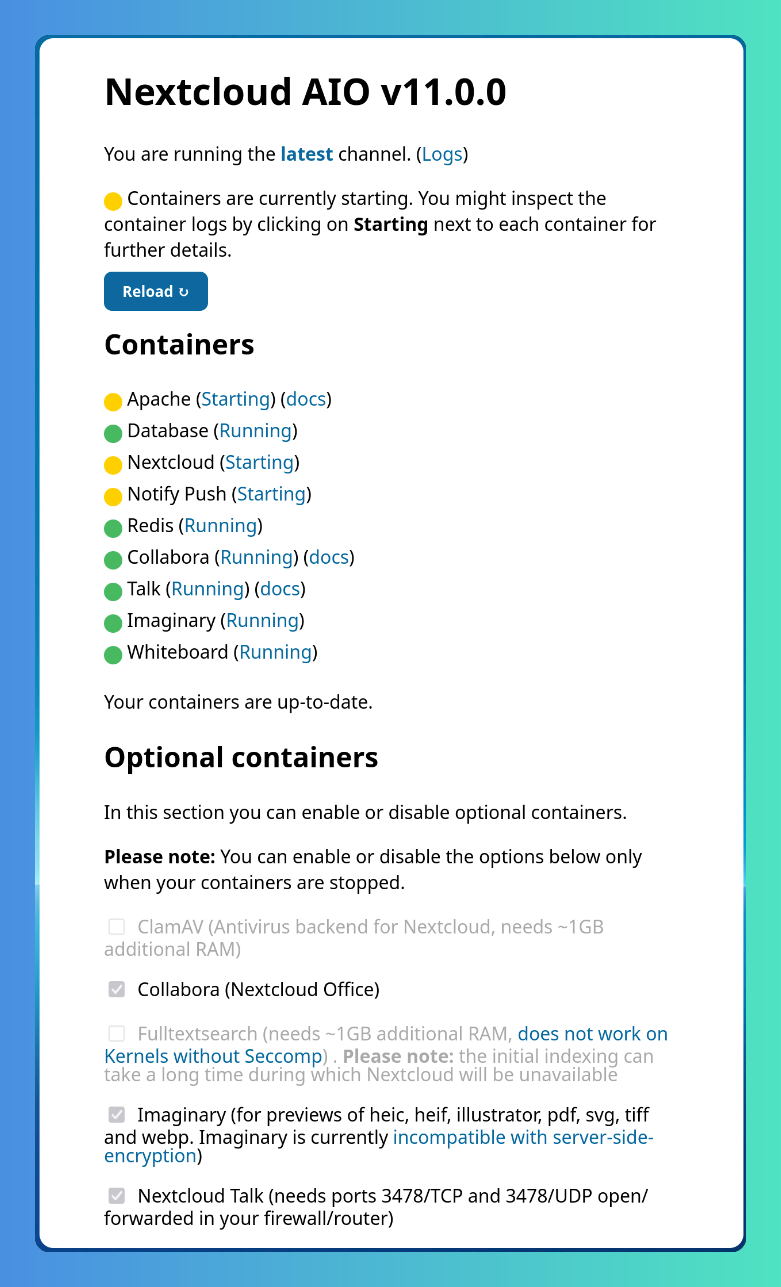
You can click the “Reload” button. Once all containers are downloaded and started you will get your Initial Nextcloud admin username and password:

Copy the initial password, you will need this for logging in.
Click on the “Open your Nextcloud” button. Your Nextcloud will open with the external url (e.g. https://storage.opentechpulse.org) and with a SSL certificate from Traefik.
Login to your Nextcloud
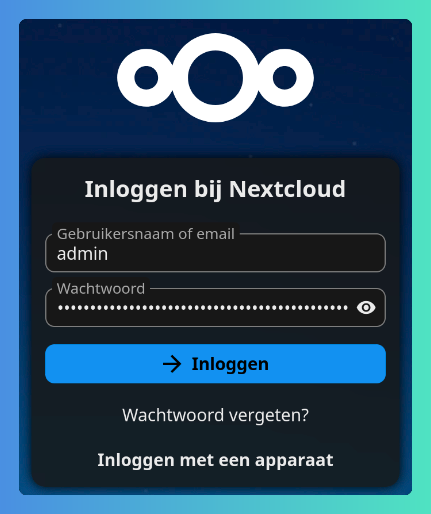
Login with user “admin” and the initial password you copied.
When everything goes right it will open the dashboard:
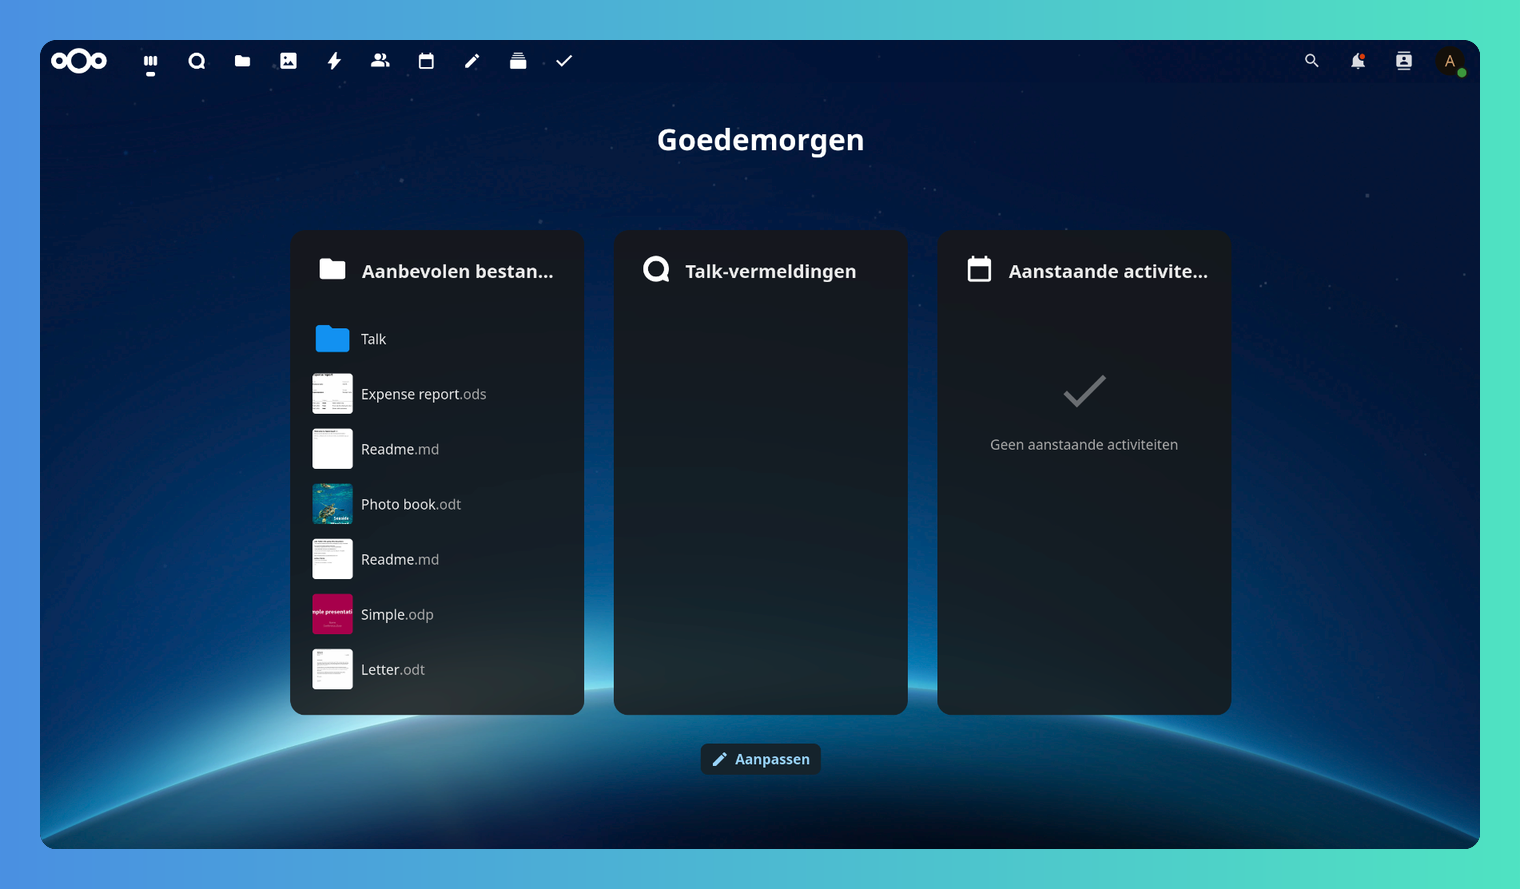
By combining the power of Nextcloud AIO with the flexibility of Traefik, you’ve created a secure, self-hosted cloud environment with automated HTTPS and simplified routing. This setup not only gives you full control over your data but also scales easily with your infrastructure. Whether you’re running a home lab or deploying for a small business, this approach offers a solid foundation for modern, privacy-focused cloud services.
